Tips and Tricks: DIY Creature Dice Box
This DIY post should leave you with a method for creating a quick and simple DIY dice box that looks like a creepy (or cute depending on what you pick) creature to go along with your in-game adventures. If doing this craft with kids, please supervise kids when using any kind of sharp objects, like scissors, for cutting. Skills neded for this craft include: cutting, taping, drawing.
Step 1: Gather materials for your DIY creature dice box
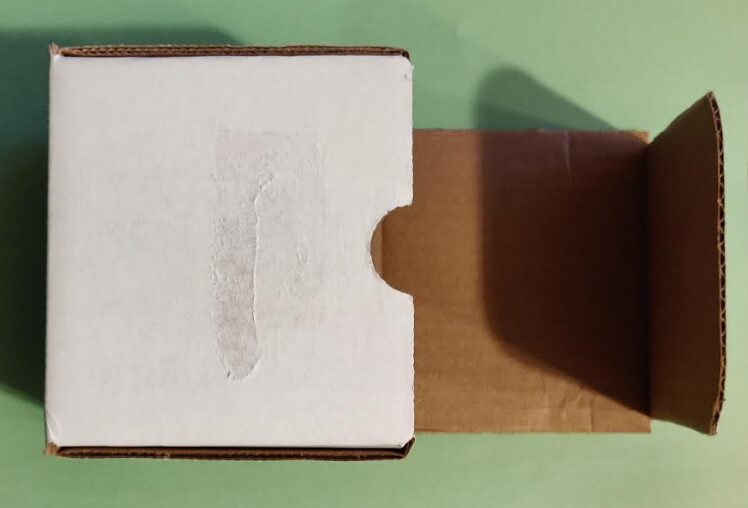
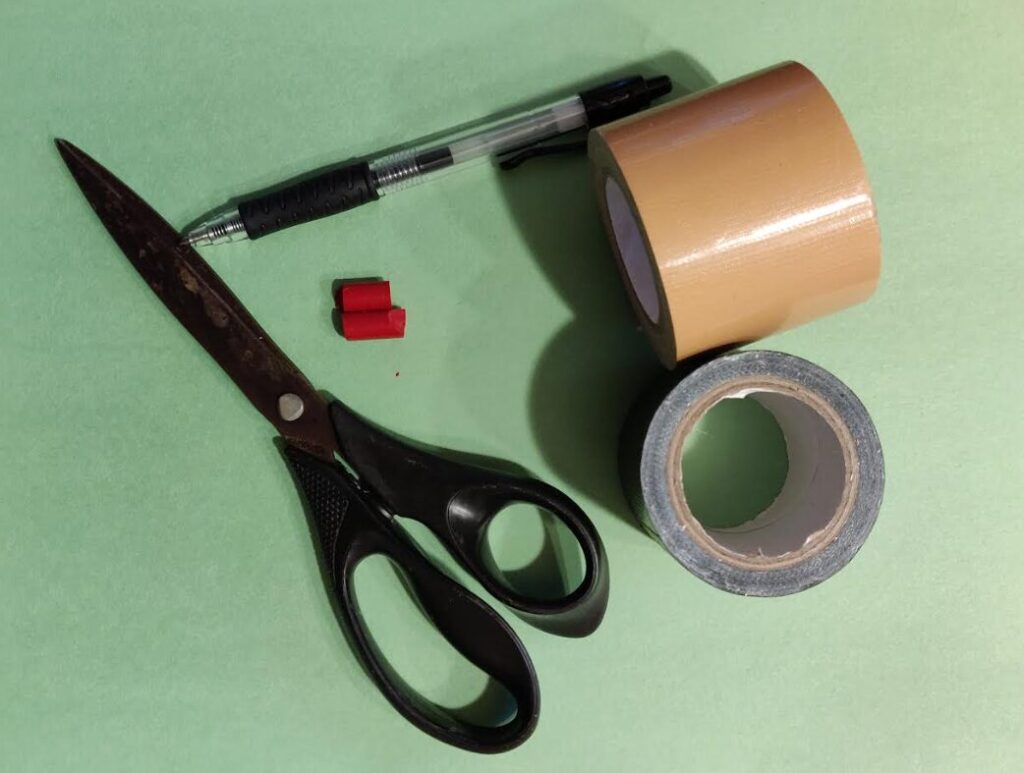
First, get together the materials that you’ll need for this craft.
- Spare box (I used a coffee mug box)
- Pen or pencil
- Scissors
- Duct tape
- Accessories (I used broken crayons to make eyes)
Some alternatives or additions to what’s listed here are:
- Use paint instead of duct tape to cover the box
- Use different accessories like a paper cone for a unicorn horn, glitter to show magic or cut out paper arms and legs
- Use a different type of box, like a shoebox to make a bigger mouth or a clear box to paint and decorate like a gelatinous cube
And there’s lots of other substitutions that you can make too! Look for what you have around the house and get creative with how you can piece it together. I used supplies from our existing leftover craft bits and pieces and a box we were going to recycle… and trying to see how it all could work was a lot of the fun with this particular craft.
Step 2: Sketch out the creature design for your dice box
Once you have everything together, sketch out roughly what you want your creature dice box to look like. For ours, we chose to do a monster mouth since our box had a nice long insert that we could work with for making some gnarly teeth.
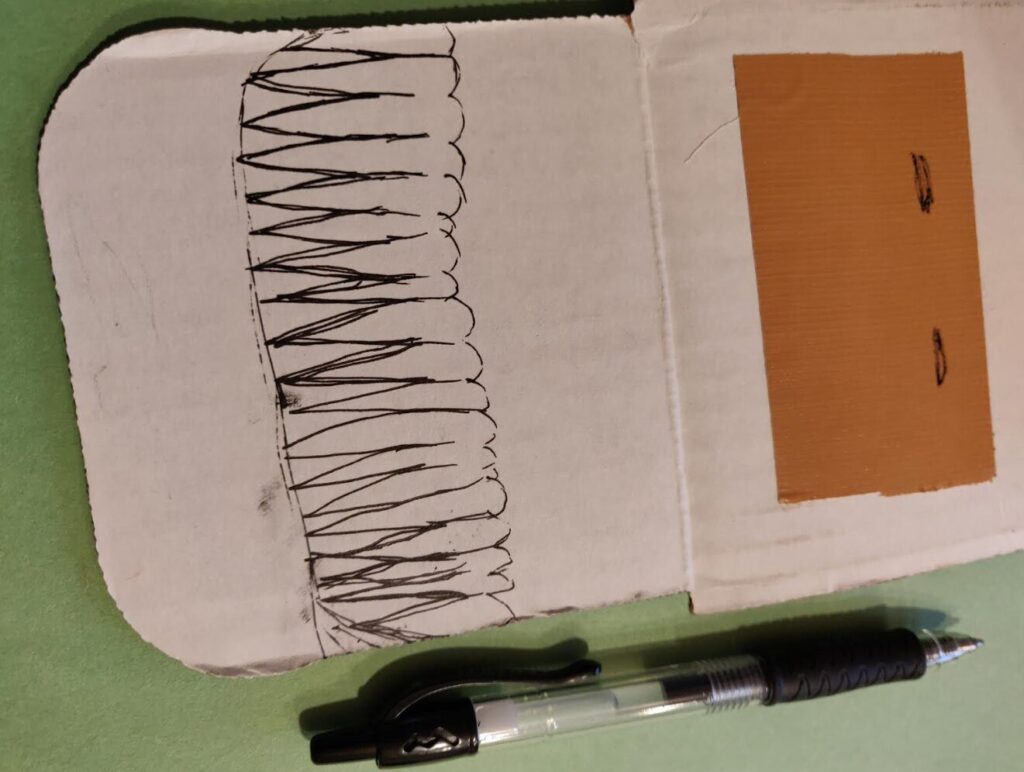
You could easily change this to being a dragon or a unicorn (just probably skip the mouth art) or a creature that looks all cute outside, like a bunny, but then has monster teeth on the inside depending on what you and/or your kid are OK with.
Step 3: Cut any creature features out from the dice box
Next, cut out any features that you want, like teeth.
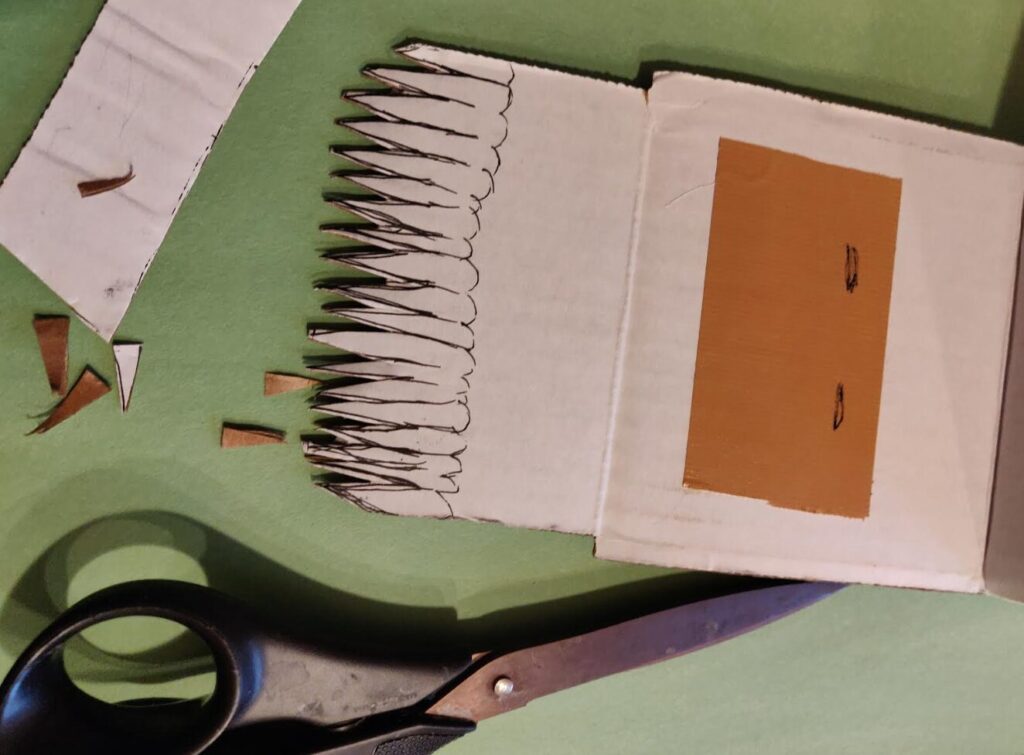
Our box was pretty sturdy, so I didn’t have any worries about cutting thin teeth and having them get bent too much while kiddo was using the dice box, but, if your box is kind of thin, you can optionally reinforce thin areas with a bit of clear drying liquid glue. If doing that, I’d recommend to apply that here or in the next step then wait for it to dry completely before proceeding.
Step 4: Add any creature details to your dice box
Instead of just cutting and taping (or painting), we wanted to add some 3d bits to our box, and having those little monster eyes peeking out from the surface seemed like a good opportunity.
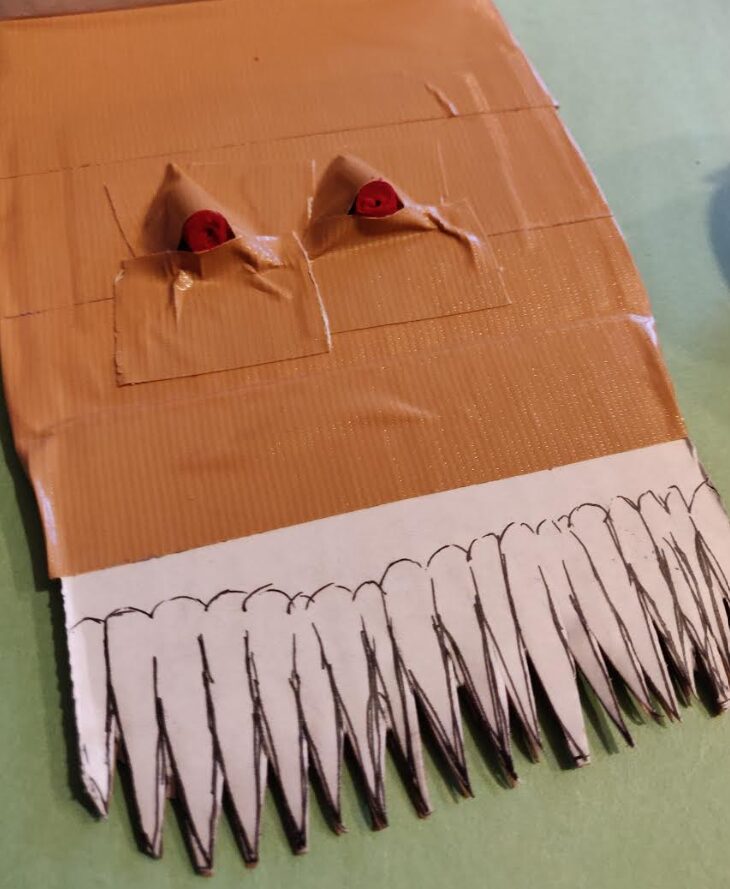
We had a couple broken crayon pieces that we taped to the lid on an angle and supported with a few pieces of duct tape to keep them in place.
These two little crayon pieces seemed to hold pretty well since we nestled them into a little tape pocket that has an edge to prevent them from falling out, but this is another part that could potentially be secured by adding a bit of glue into any gaps between the crayons.
And, if you’re not doing a scary creature like ours, during this step, you could be adding a unicorn horn, bunny ears, a bunch of ribbons that look like fire, paper leaves, etc. It’s up to you!
Step 5: Tape or paint your creature dicebox to finish it up
Lastly, we’re going to finish the box up by covering any edges around the accessories and filling in the rest of the box. For ours, we used brown duct tape because we thought it looked enough like a treasure chest to work, and the wrinkles in the tape made it look kind of creepy (kiddo has been on a creepy adventures kick as of making this).

You could also paint your box instead or use a different kind of tape, you could glue feathers or paper leaves across the whole surface, you could paint glue on the surface and cover it in glitter even (just be ready for it to shed sparkles for FOREVER)! Use what you have, and have fun with it!

And voila! That’s our finished DIY creature dice box!
I hope you enjoyed the craft and get to try it out at home, and happy gaming!
If you liked this post, make sure to subscribe to the TTRPGkids monthly newsletter to stay up to date on the latest reviews, tips and tricks, game and podcast list updates, and more! Thank you for playing tabletop RPGs with your kids and sharing this awesome hobby with the next generation!
