Tips and tricks: Using item cards in your tabletop RPGs!
Note: This post may contain affiliate links. At no additional cost to you, I may earn a small commission from purchases made using them. TTRPGkids uses this to keep the site going. Read full disclosure here.
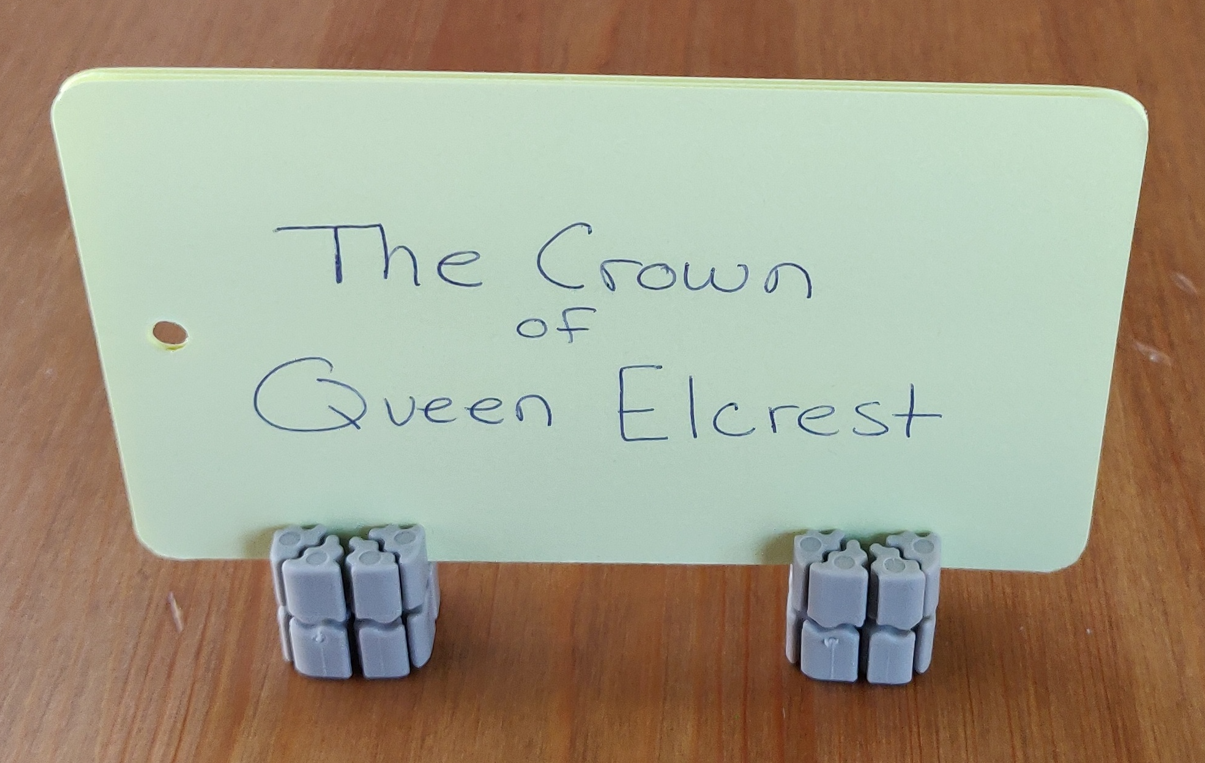
*Featured image uses TI’TAINS card holder*
Jump to:
- Include quick reference info
- Visually separate quick reference info and details/lore
- Keep focus on key items
- Track quantities easily and off the character sheet
- Color coding!
1. Include quick reference information on your item cards
In a lot of games that I’ve played (both with my kid and with grown ups), one of the big types of questions that comes up is about item mechanics. These are questions like:
- How much does that heal?
- How far does it shine?
- Is that an action or a bonus?
- How much extra damage do I do?
And so on. Now, we usually just pause and go look it up in the game manual or, in the case of D&D, on our phone, but it does require a pause and a bit of a break in the immersion of the game. Especially in games with my kid, he can’t read, so I can’t really expect him to look up his items ahead of time and read paragraphs of text to figure out how it works. With other players who can look it up, it adds another element to track in the game, and… stopping to look everything up isn’t really necessary if you have space for a short item description (which most character sheets do not leave space for).

In a recent one shot session that I ran, we had three new players who had never done D&D before but were eager to try. I didn’t really have time to cover ALL the details with them or wanted to add more pauses and explanations in the game, so I wrote the loot items for the game on little notes that had some basic details.
For health potions, I put the dice to roll, what type of action we would use, and… that was it. I handed them the loot card, and they could figure it out without me needing to explain.
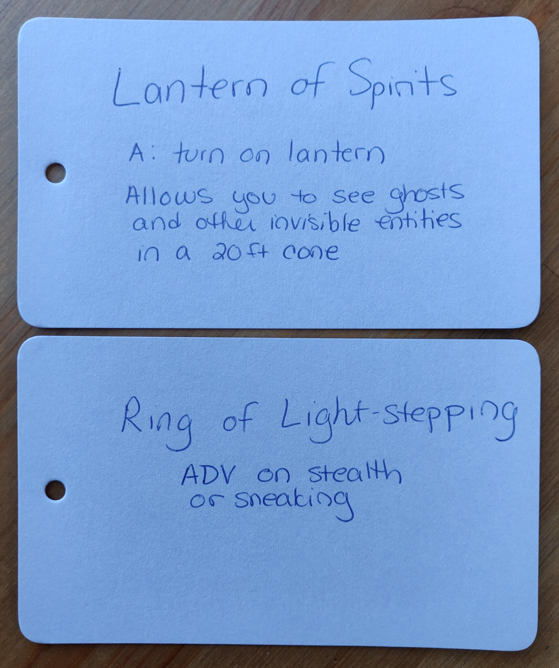
In games with my kid, I like to do this for magical items too so that I have everything in front of me and can quickly read it off to him without looking it up. Since we play a lot of different tabletop RPGs, going through a new manual to find details each time is tough, but having some barebones info to reference right there is REALLY helpful. It lets me know what’s needed for the game AND it doesn’t clutter up the character sheet with details. This can also help kids who are still learning to read to be able to focus on fewer words and not get overwhelmed with blocks of text.
2. Visually separate quick reference information and details or lore on your item cards
Parsing down the item into its mechanics helps with readability, tracking, and general use, however, we also don’t want to wipe away the lore and details completely… which is where the back half of the card comes in. Those paragraphs of text that explain where an item came from or specific details on use and more in depth mechanics can easily go on the back (either with you writing them or printing, cutting, and pasting them on there).
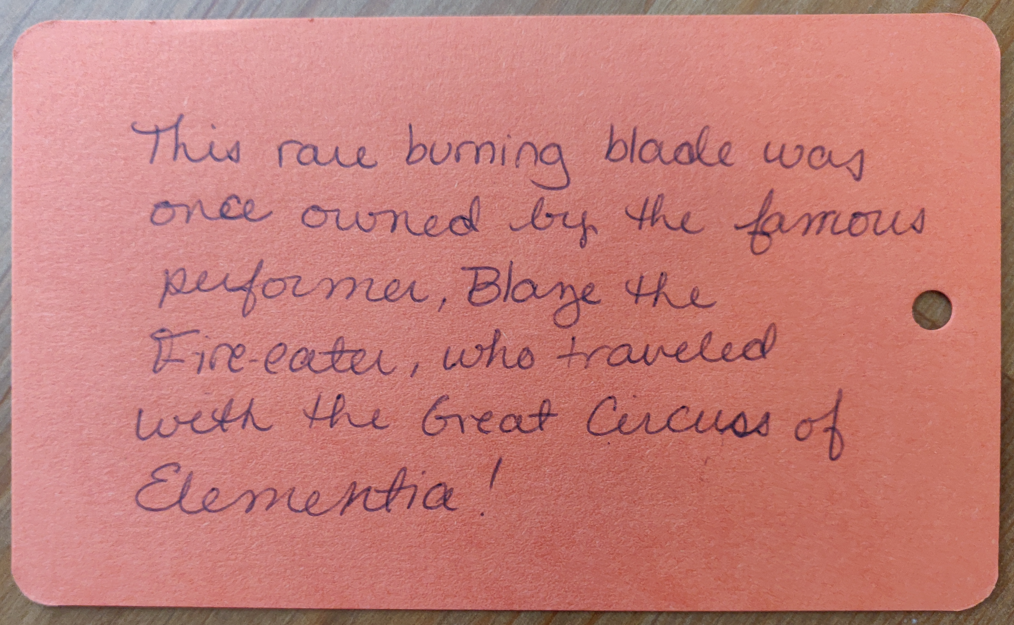
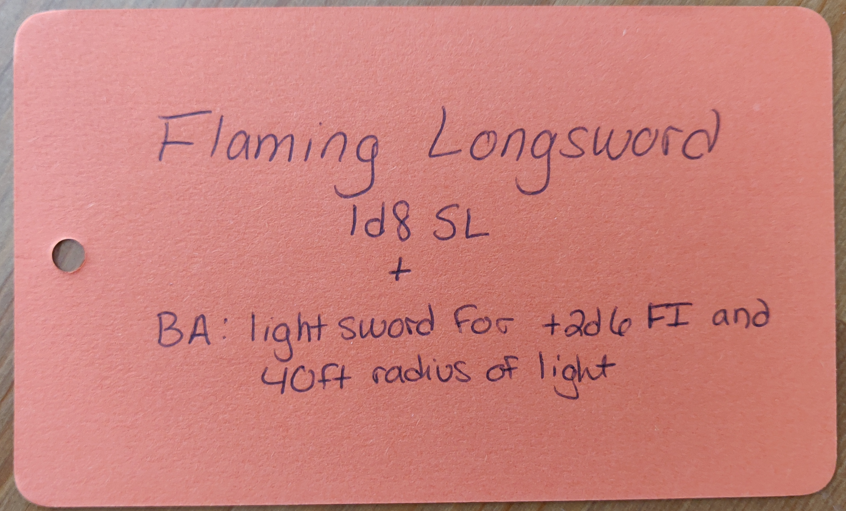
This still helps to visually separate the quick reference information for when you want to use something mid-challenge, but it also keeps all that lore within easy reach too. This can help players remember the significance of an item, kind of like modular session notes, especially for something that’s critical to the story.
3. Keep focus on key items that you use in your game
Item cards can also help to remind players of why they are on a particular quest or challenge if you find a way to display the card for them to see. This could be clipping it to a game runner screen, putting it on the table, or putting it in a mini-stand or card holder (the one used here is TI’TAINS).
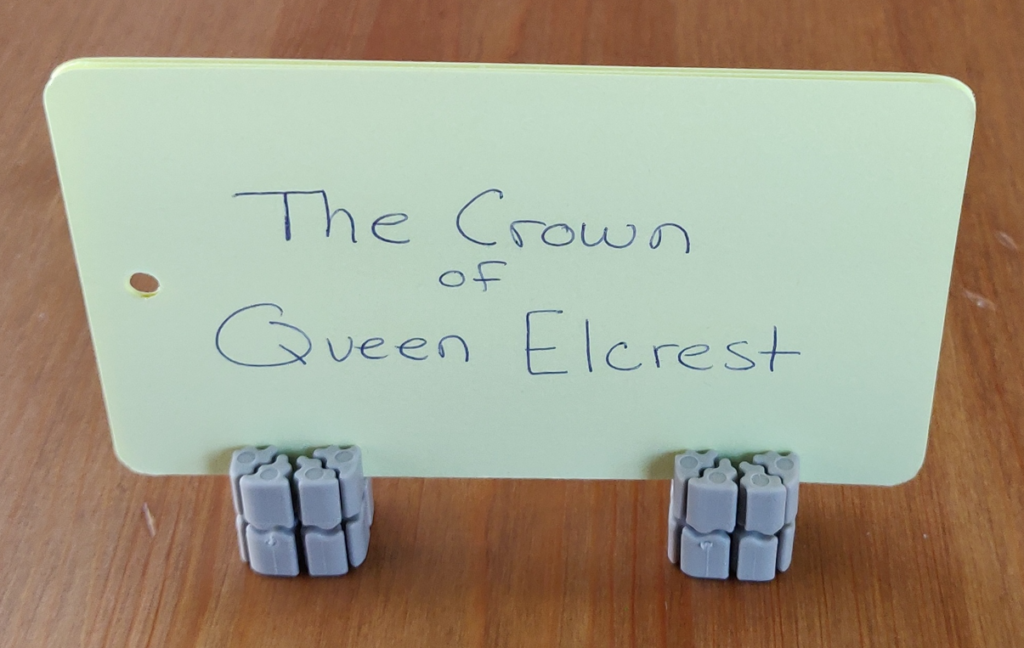
Particularly in games with kids, this helps to act as a soft reminder that it is 100% OK to go on side quests and mess around, but there is also this main overarching quest out there. It could also act as a focus for conversation encounters too, reminding players that they wanted to get a specific item from an NPC.
I think of it kind of like the quest marker or journal in an open world video game. In Skyrim, there’s A TON of quests, so you use the journal and quest markers to remind you of what you’re doing (especially if you can only play once in a while with long gaps between). In tabletop RPGs, the same can happen – if you can only meet 1/month, it is really easy to lose track of your quest lines, and having a symbol or key item from their current quest prominently displayed can help.
4. Track quantities easily and off the character sheet
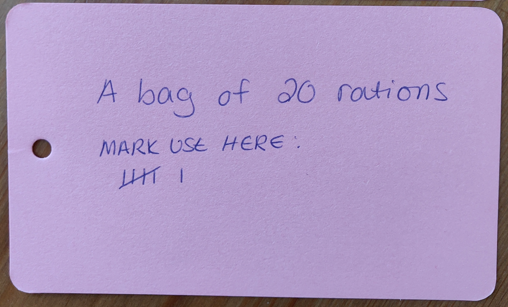
Item cards can also help to easily track quantities without covering your character sheet in tally marks or having to erase and rewrite numbers. If you’re tracking rations, arrows, charges in a wand, etc, having a notecard for that can help. You put all your tallies there and you don’t need to go searching all over your character sheet to try to find how many ration packs you have before heading out into the desert.
In games with my kid, this helps us to track when we’re looking for multiples of a quest item (i.e. we need 7 apples) or we’re watching how many consumables or bonuses we have left at our disposal (i.e. we used 2 cookies to appease the hungry bird, now we only have 3 left). Having this visually on a separate card helps him to focus on just this one thing instead of having a bunch of other info on the character sheet or a list of items vying for his attention (even if that is just decorations or words he can’t read yet).
5. Color code your items by type, rarity, importance, or whatever!
Throughout this article, all the cards I’ve used have been color coded by:
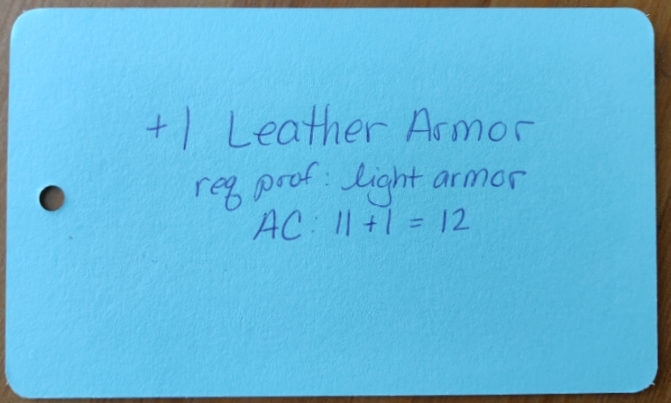
- Green = health potions
- Purple = magical items
- Blue = armor
- Orange = weapons
- Pink = general goods
- Yellow = key items
This helps to, at a glance, see what my inventory looks like. If I notice that I’m down to one green, I know I need to get more health potions. If I’m running a game and I see that my players don’t have any blue or purple cards, I know what kind of loot will really get them excited after the next encounter.
For my kid who can’t read yet, this gives him some information to work with too. You can color code your cards any way you want, so for him, I usually will only give him maybe 4 items max and they’re each a different color. He can remember what the colors mean and will actually then remember the items and to use them in game.
For color coding, in this article, I separated them by item type, but you can also color code them by rarity, importance to the game, character, magical abilities, etc. Whatever way works best to help you use them is the way to go.
Final thoughts on using item cards in your tabletop RPGs
Using item cards in your games is a great way to help make things a little easier to track for you and your players (especially for those still learning to read or who get overwhelmed by cluttered character sheets). It gives space for a quick reference guide on each item to help reduce pauses in the game, and it can help focus the game on loot or quest goals. They’re a quick tool that has low entry cost (you can get index cards at the dollar store) and little time to prep (especially if you have your players help fill them out when they get the item in-game). I hope this helps you with tracking and using your items, and, please, let me know in the comments if these ideas have helped or if you have any of your own ideas to add!
If you enjoyed this article, you can check out more tips and tricks throughout the site, and make sure to subscribe to the TTRPGkids monthly newsletter to stay up to date on the latest reviews, game and podcast list updates, and more! Thank you for playing tabletop RPGs with your kids and sharing this awesome hobby with the next generation!
